version-control
Materials originally developed for the "Version control for research" breakout session of the Best Practice for Code Archiving workshop, 11 December 2016.
Getting your project under version control
Once your project is set up, you can start work on your analysis, perhaps by creating an R script that reads in your data and carries out some preliminary analysis. For the purposes of this tutorial, start by creating a simple script containing a few lines of R.
After you’ve created the first file in your project, you need to get it under version control. By default, the git version control pane is in the top right hand corner of RStudio. Find it and click on the Git tab. You’ll see a list of the files in your project directory.
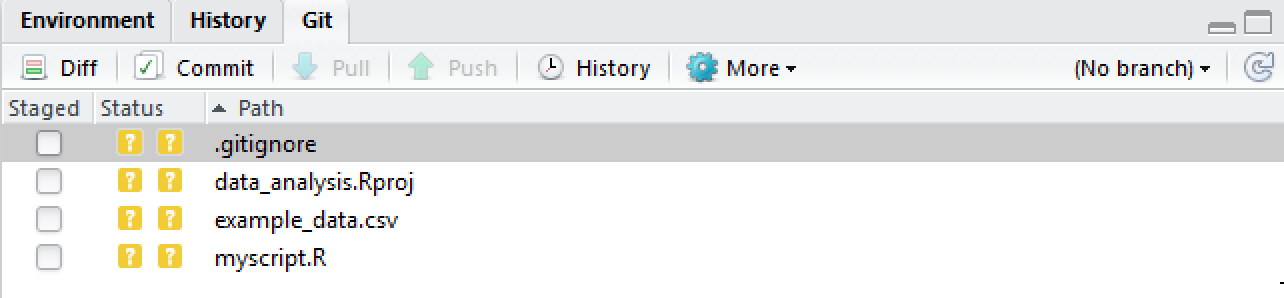
If you hover the mouse pointer over the yellow ? marks in RStudio, you’ll see a tooltip telling you that the files are untracked. This means that git is not tracking versions of these files.
Git will only keep track of modifications to files that it has been asked to manage, so you need to tell git which files to track.
Tick the Staged checkbox for each file.

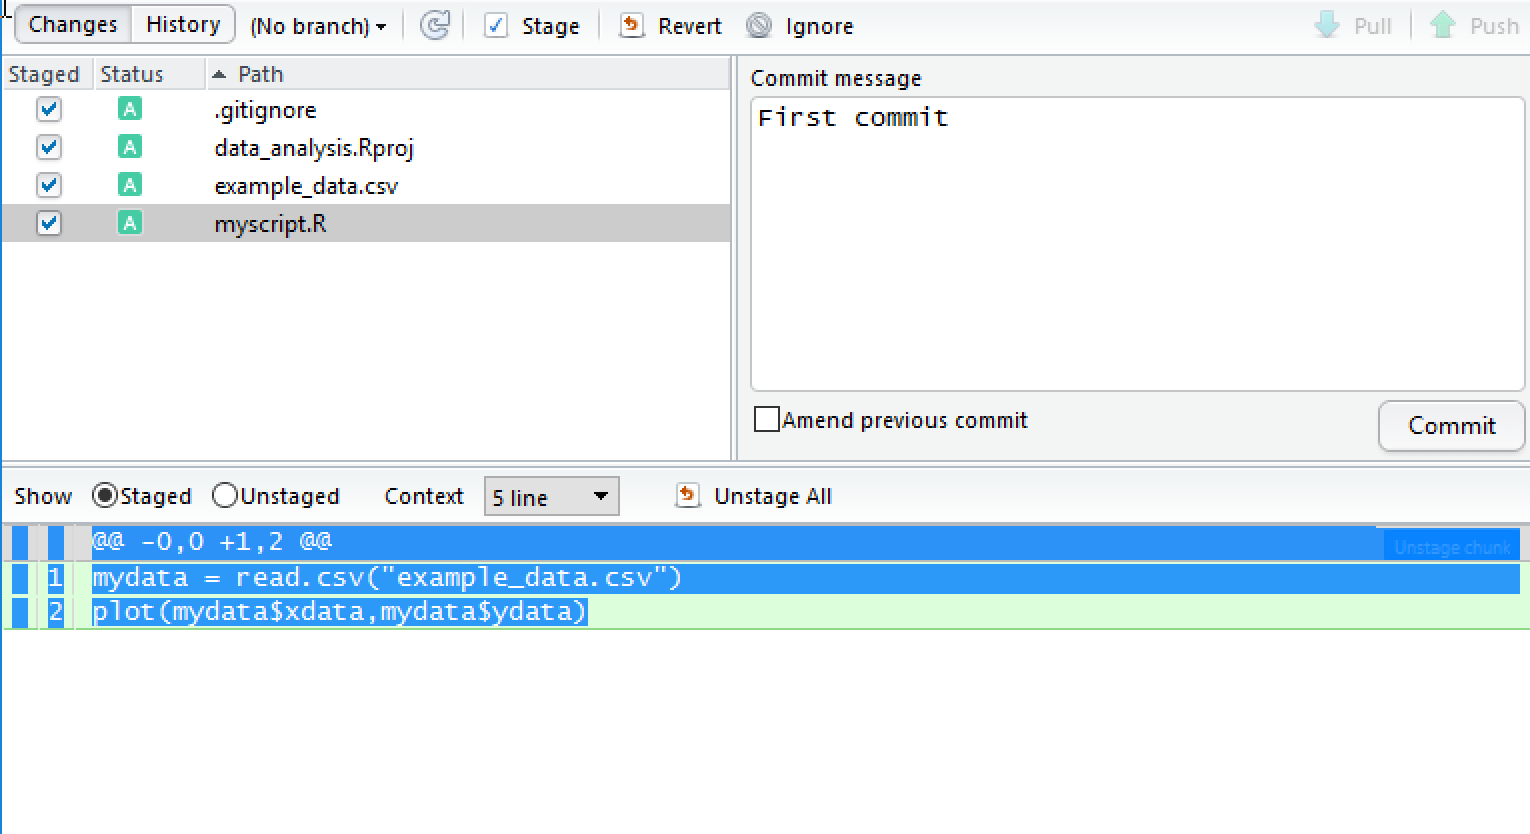
All of your files are now staged, ready for you to record those changes as a commit. Each commit creates a snapshot of the project directory, allowing you to record the state of your project through time.
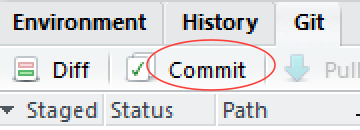
Click on Commit.
This will open a pane showing details of the commit. You need to specify a commit message in the right hand panel. This should explain the modifications that you’ve made. Since this is the first commit, you can follow tradition and use a brief message such as First commit, but for subsequent commits it’s worth providing a more descriptive message. Once you’ve typed a commit message, click on Commit.
A message displaying the output from git will be shown.
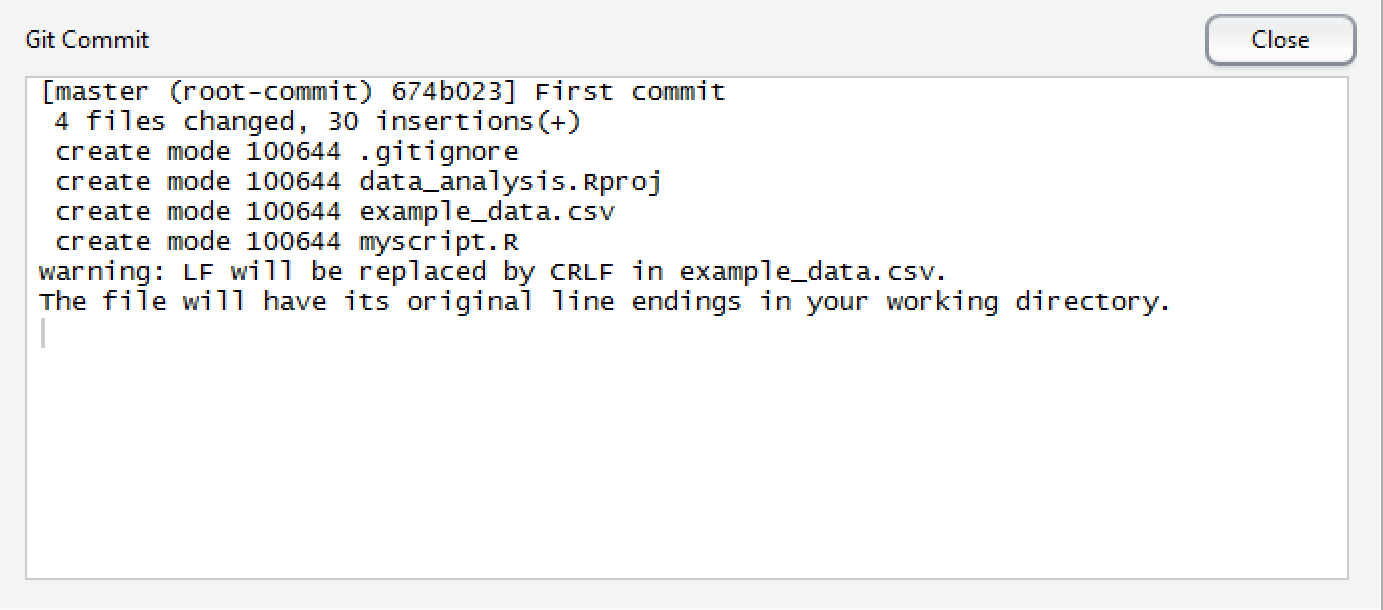
Click on Close and you are done.
Next: Making changes